Last weekend was pretty busy, including not only a visit to the Vapnartak show at York on the Sunday, but also an excellent Sudan game on the Saturday. The participants were all members of the "Gentlemen Pensioners" group and the scenario involved an attempt by Imperial forces to secure a small town on the Nile as a base for a further advance southwards.

The Imperial forces consisted of a British brigade under the command of Colonel Sir Wellesley Tankerton, an Egyptian brigade commanded by Hartley Pasha; an exiled officer who had secured a position in the Khedive's army only because no one else would have him and a desert column under Captain Fitzwilliam Paget. This latter force consisted of two units of camel mounted infantry and a detachment of the Irish Lancers. All three forces also had a field gun and a machine gun. The land forces were supported by the steamer 'Windsor' under the command of Captain Arthur 'Tiffin' Arbuthnot, an old Egypt hand who had many years service with the Thomas Cook company. His normal crew had been augmented by a detachment of marines and two gun crews.
Tankerton's plan was for the Egyptian brigade to advance close to the Nile, supported by the Windsor whilst he held the more exposed 'desert' flank. Paget's force was to make a flank march and divert atention from the main attack before joining the main force.
The strength of the Dervish force in the area was unknown, but scouts had reported that a large force of cavalry had moved to the south yesterday.

As the main Imperial force advanced they found that the 'Red House' had been fortified and garrisoned by the dervishes. The house lay in the path of Hartley Pasha's Egyptian troops and, conscious of the need to maintain their morale he decided to halt and 'soften up' the defenders with his artillery before committing his infantry to an attack. Hartley signalled to Artbuthnot requesting supporting fire from the river and soon the Red House was under heavy fire.
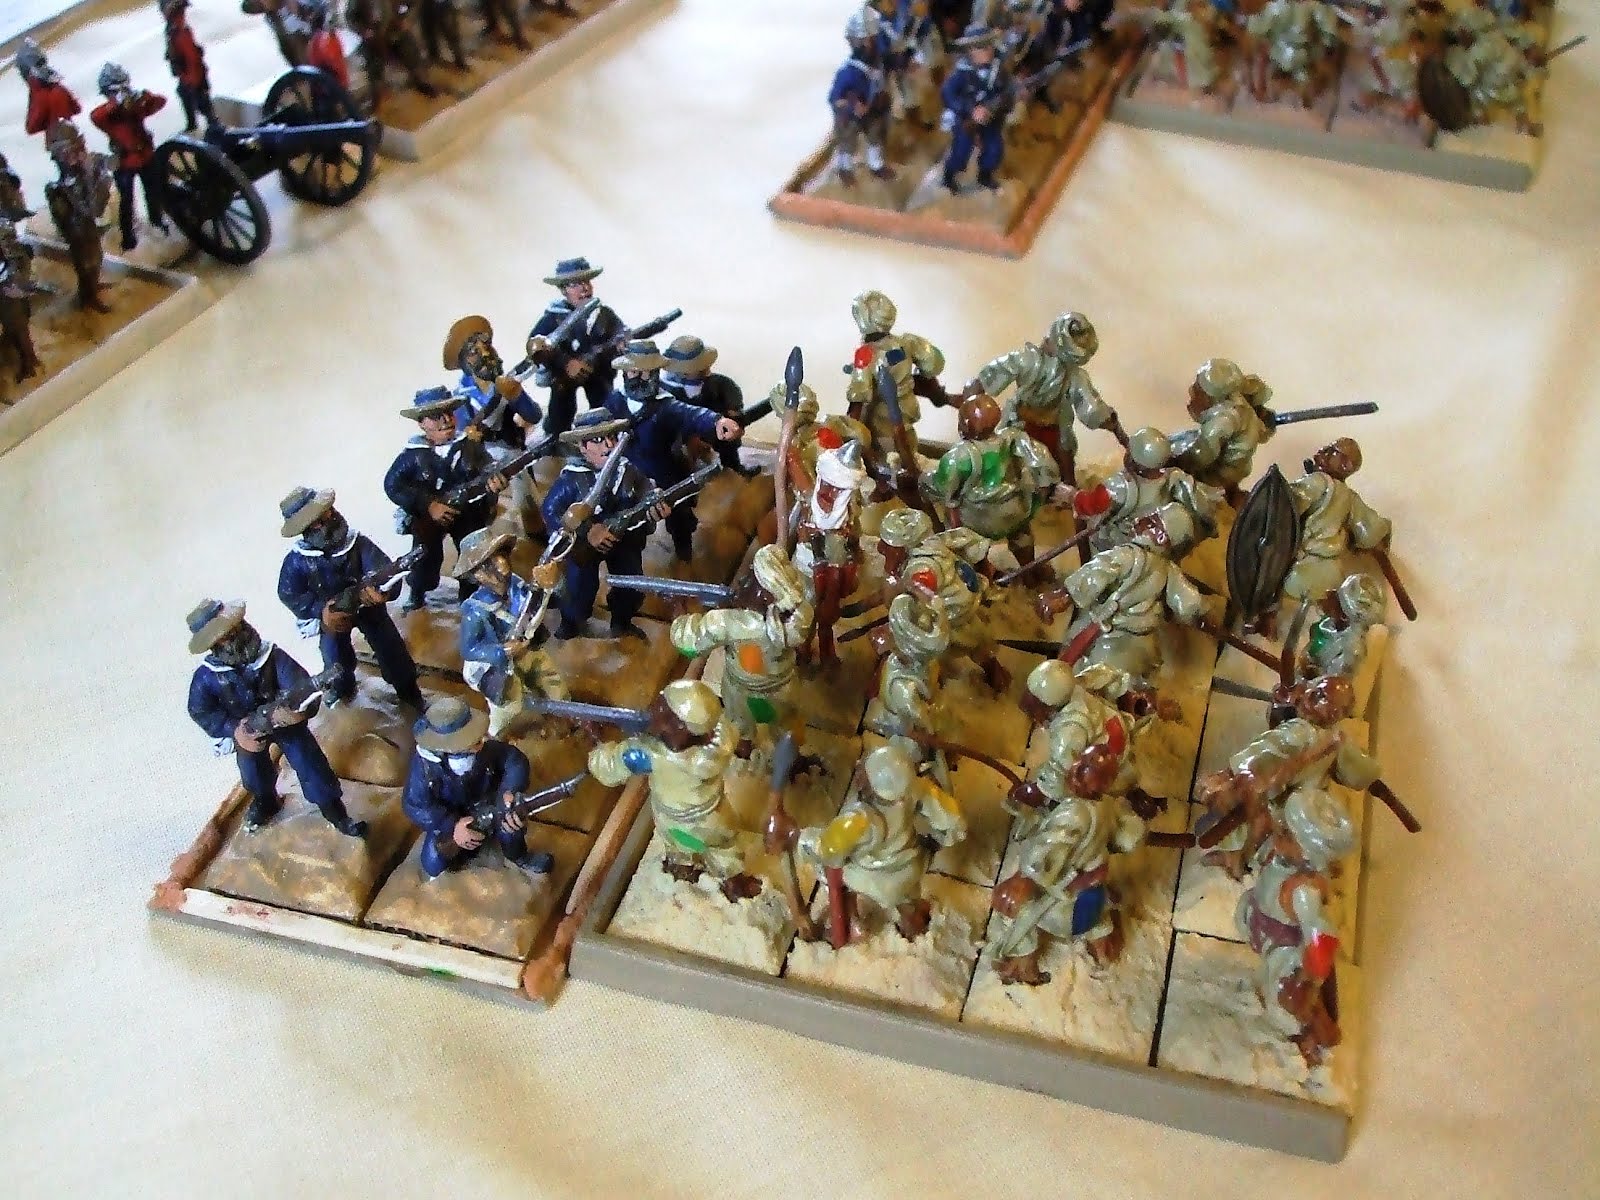
Tankerton's advance was soon in trouble. Dispensing with scouts his forward line of 'blue jackets' was suddenly charged by two units of dervish infantry led by the renowned veteran Inshallah Ayg. There was little time for the naval infantry to fire before the enemy were upon them.

In the brief melee which followed the line was overwhelmed and the sight of British troops running from native opponents was mercifully not noticed by the reporters from the 'Times'. Fortunately for Tankerton his second line held and the dervish foot were eventually driven off with heavy casualties.
Further to the south Paget had arrived and moved to secure an isolated village, before moving towards the town. A small garrison of Hadendowah moved away as Paget's force approached the town and the mounted infantry gratefully took possession. As Paget's force assembled a cry rang out and Hadendowah infantry seemed to spring from the earth.

The village was quickly retaken and its British garrison slaughtered. The machine gun crew were also lost causing Paget to remark "B****r, I was counting on them". Not all the Hadendowah closed with the British and one unit was driven off by the Lancers, though at high cost as most of the officers were killed. Then, from the desert the dervish cavalry appeared, led by Agar Bey. All Paget's men were committed to trying to hold off the Hadendowah and so the dervish cavalry swept down upon them unopposed. Only a few of the lancers managed to break off and desperately sought to reach the main force; the mounted infantry died where they stood; hacked down by the Hadendowah, or stabbed by the horsemen. The lancers did not make it to the main force, but were surrounded by the dervish cavalry who were on fresher horses. Delayed by fighting the cavalry, the Irishmen were caught by the pursuing Hadendowah and cut down.
Unaware of the disaster befalling Paget, Tankerton and Hartley were congatulating themselves on clearing away Inshallah Ayg's men and the defenders of the Red House. Hartley was now forming up his men ready to advance on the town itself and Arbuthnot was moving upstream to open fire on the town's defenders. As Tankerton's men moved forward Inshallah Ayg attacked again. Goading the British infantry with sporadic rifle fire and then opening up with a field gun. As the British dealt with the gun a unit of Hadendowah charged forward.

This time the British infantry held their ground and after a fierce struggle drove off the Hadendowah. His front clear at last, Tankerton advanced towards the town, but as he breasted the low ridge he saw the mass of dervish cavalry moving towards him. Further back dervish infantry were moving to reinforce the town's defences, just as the Egyptians were reaching the walls.
The Emir had fought his battle well. Inshallah Ayg had delayed the main force long enough for the desert column to be defeated by the bulk of his best troops. Now they could reinforce the defence. Hartley Pasha had two battalions ready to cross the walls of the town, a third was covering his flank and linking with the British brigade. Confident in the firepower of his artillery and infantry Tankerton watched the dervish cavalry move towards him, riding to their death. However, they survived the volleys and crashed into his line; hitting the already depleted blue jackets. The naval men fought bravely, but were overrun, the line was broken, the British and Egyptian artillery was open to attack. The 3rd Egyptian battalion was also hit by dervish cavalry and managed to drive them back, but lost almost a third of its strength in doing so. On the river flank, the 1st Egyptian battalion had been charged by the dervish infantry and in spite of the efforts of the officers, the men turned and ran for the supposed safety of the 'Red House'. Arbuthnot, watching from the river saw the turn of events and with an increasing number of shells being directed at his command by the dervish artillery he drew off to the south. His men tended to those onboard wounded by shell fragments and he ordered his boy to prepare tiffin as the sun was already past the yardarm.
Tankerton and Hartley gathered what men they could and drew off to the north leaving the day and town to the celebrating dervish warriors.


 .
.